On Your Plate: Eating in Season All Year
- Share
- Tweet
- Pin
- Share
There’s nothing like the taste of fresh-picked produce in the darkest, coldest months of winter. You’re probably reading this and thinking, Of course! Who doesn’t love fresh-picked produce, but who has time for preserving in the peak of busy days? I used to think the same but found that starting small and building on your skills makes a once daunting task possible.
There are five ways to preserve: long-term storing, freezing, dehydrating, water bath and pressure canning. Though freezing is easy you’ll find your freezer fills quickly. Water bath canning is a great way to save freezer space and process fruit, jam, salsa, tomato paste or sauce, and all things pickled. Water bath canning is ideal for high-acid foods because the acid kills bacteria, allowing shorter, lower-temperature water boiling to stop natural spoilage; a pH of 4.6 or below is required for safe preserving. Adding lemon juice, lime juice or vinegar helps reduce the pH of low-acid produce making them safe to water bath.
To get started canning you’ll need a large canning pot with basket, jar and magnetic lid lifters, funnel, bubble popper/headspace measuring stick, jars and lids.
You’ll need to adjust processing time for altitude. Warm the lids in warm water on the stove before applying to jars and wipe the jar rim before applying lid. Let finished jars sit for 24 hours before removing rings, then wipe them down and store in a cool, dark place.
Be prepared to have a jar break. Every year I have two jars break during boiling. If breakage occurs do not try to reuse food as there may be bits of glass in the food, even with a clean break.
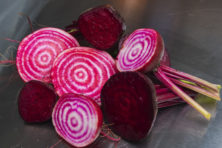
After all my years of canning I still get excited hearing the popping sound of lids sealing tight on the table. I’ve also found that I prefer canned pears to fresh pears and they have become one of the few things I don’t eat prior to preserving.
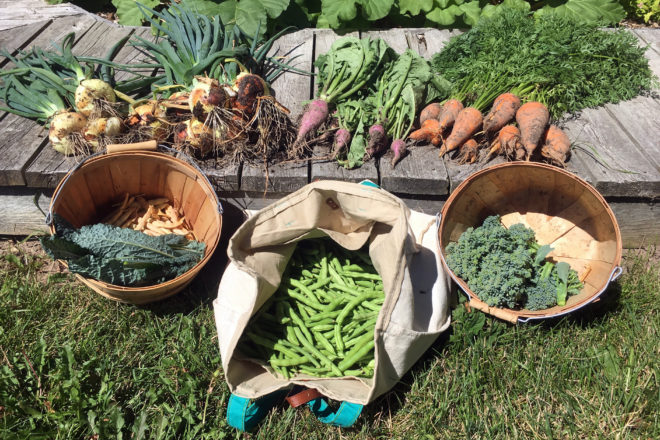
So go out to your garden or local farmers market and get some fresh-picked produce to enjoy eating all year long!
Canned Pears
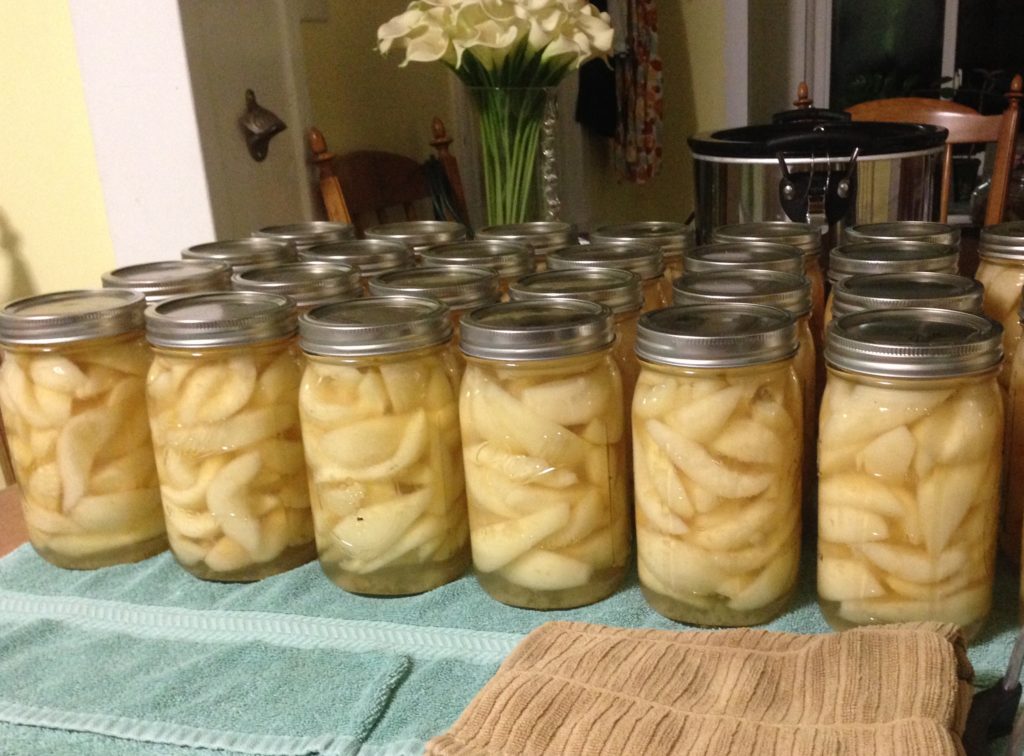
One-and-a-half bushels of canned pears that taste even better than fresh! Photo by Angela Sherman.
½ bushel pears
½ cup lemon juice (added a little at a time throughout the process)
11 cups water
1¼ cups honey
7 quart jars and lids
Pears are picked before they are ripe so let pears sit in a cool place for 2 – 3 days until ripe.
Make light syrup by combining water and honey. Bring to near boil, reduce heat and keep liquid hot until ready to fill jars.
Peal pears, cut into quarters and remove seeds, then cut again into eighths. Place in a bowl of about ¼ cup lemon juice (add lemon juice as you continue to cut pears) and water, stir pears in bowl periodically; this will prevent browning.
Fill quart jars with pears, leaving about 1 inch headspace. Fill jars with syrup making sure to poke jar to remove any air bubbles, leaving ½ inch headspace. Wipe the tops of jars clean and place on lids. Water bath for 25 minutes (20 minutes if using pint jars).
Tip: I save the pear skins to use in smoothies, homemade dog food or as a treat for our chickens.
Tomato Paste
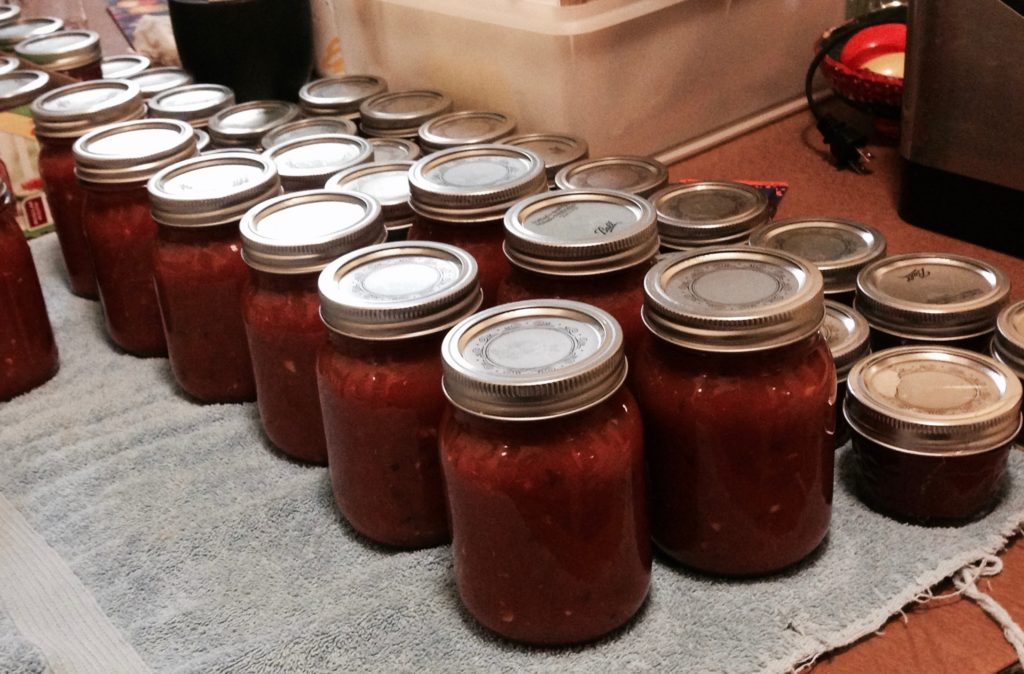
Simmered for hours, this tomato sauce has one tablespoon of lemon juice in the bottom of each jar to ensure pH is low enough for water bath canning. Photo by Angela Sherman.
30 pounds meaty tomatoes (Roma, San Marzano, for example)
3 oz lemon juice
2 Tbsp salt
25 quarter-pint jars and lids
Cut tomatoes in quarters and cook over medium-high heat until soft and skins start to peel off, and sieve. Pour onto two half-sheet baking pans and bake at 350 degrees for 3 – 4 hours, stirring every 30 minutes and combining once tomatoes have cooked down, about in half. Bake until liquid has evaporated and becomes preferred paste thickness. Pour into jars leaving ¾-inch headspace. Process 15 minutes.
Spicy Dilly Beans or Pickles
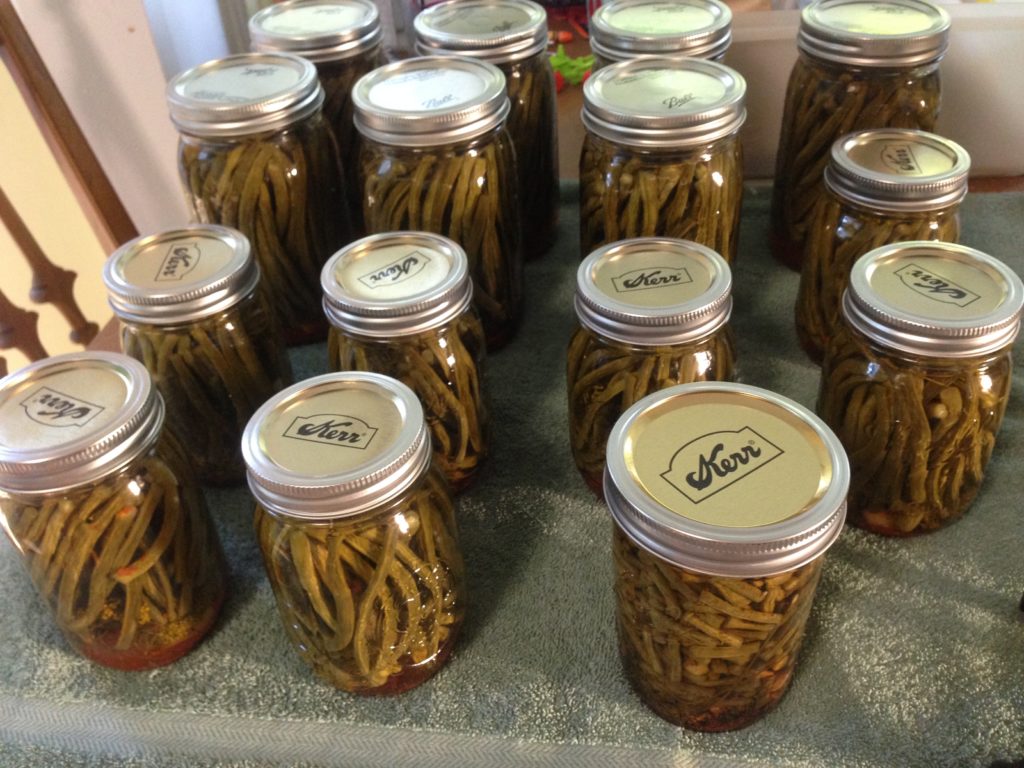
Beans straight from the garden quickly turned into spicy dilly beans. I wait a couple weeks before opening the first jar to allow beans to soak up the spices. Photo by Angela Sherman.
7 pounds beans (yellow, green, or a mix of both) or cucumbers
5 – 7 stalks fresh dill
7 cloves garlic
7 tsp cayenne powder (or your favorite hot pepper, fresh or dried), optional
whole black peppercorns
8 cups vinegar
8 cups water
1 cup pickling and canning salt
7 quart or 14 pint jars and lids
For Brine:
Combine vinegar, water and salt; bring to a boil. Reduce heat, keeping liquid hot until ready to use.
For Jars:
Pints: ½ clove garlic, ½ tsp peppercorn, ½ tsp cayenne, dill leaves and one small dill flower.
Quarts: 1 clove garlic (cut in half), 1 tsp peppercorn, 1 tsp cayenne, dill leaves and one large dill flower.
For Canning:
Cut beans to approximate size of jars (short enough for the space needed at the bottom for spices). Any remaining pieces can be blanched and frozen.
Put beans in the jars, packing tightly as beans will shrink once processed, and fill with brine, leaving ½ inch headspace. Put on lids and water bath jars for 10 minutes.