Rustic Bread on the Rise
- Share
- Tweet
- Pin
- Share
Tucked discreetly on a back road in a beautiful country landscape in southern Door County is a studio. This particular studio belongs to metal artist Robert Anderson, humble and bubbling with many talents. Rob is a man who works with his hands, a man who carries passion into his work. Absorbed in process, breathing the technique, not afraid of failure, he becomes an expert with accreditations. With his expertise comes the opportunity to share his knowledge. He works in many mediums, from stainless steel to artisan breads.
This is where I come into the picture. I had the opportunity to spend a cool, grey, snowy day in this eccentric, creative space learning how to bake bread.
I stepped into this day nervous; baking bread has always intimidated me. It is something I have always wanted to learn but never knew where to start. When this opportunity presented itself, I jumped.
Not only was Rob a passionate artisan bread baker, he has been studying at the San Francisco Baking Institute with the best in the industry. Rob took it a few steps further than baking: he constructed a state-of-the-art, wood-fired masonry oven, insulated and wrapped in chrome and steel. The oven is jacked up on wheels and can be rolled in and out of the studio depending on weather and process. Heated with wood alone, this oven takes time to get to temperature and then holds that temperature through the bake time.
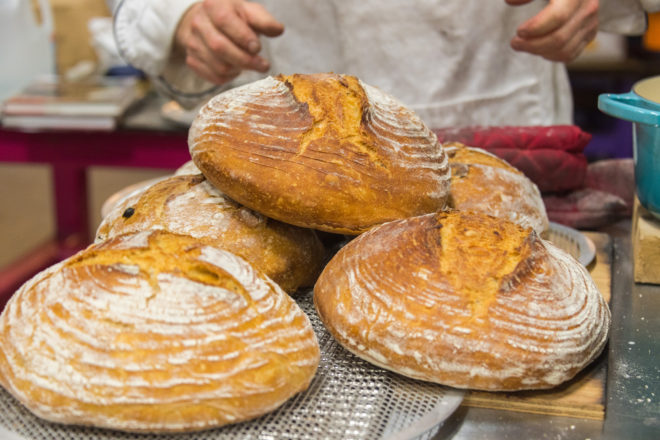
The olfactory sensation throughout this day-long process was of yeast and flour, wood smoke, and finally, freshly baked bread. We did not tiptoe into this process, but produced many loaves of bread. This is the best bread I have tasted. The crust had the perfect texture; the inside was light but not too airy. Oven-fresh, still warm and smothered in butter, I closed my eyes and let the first bite transport me into culinary bliss.
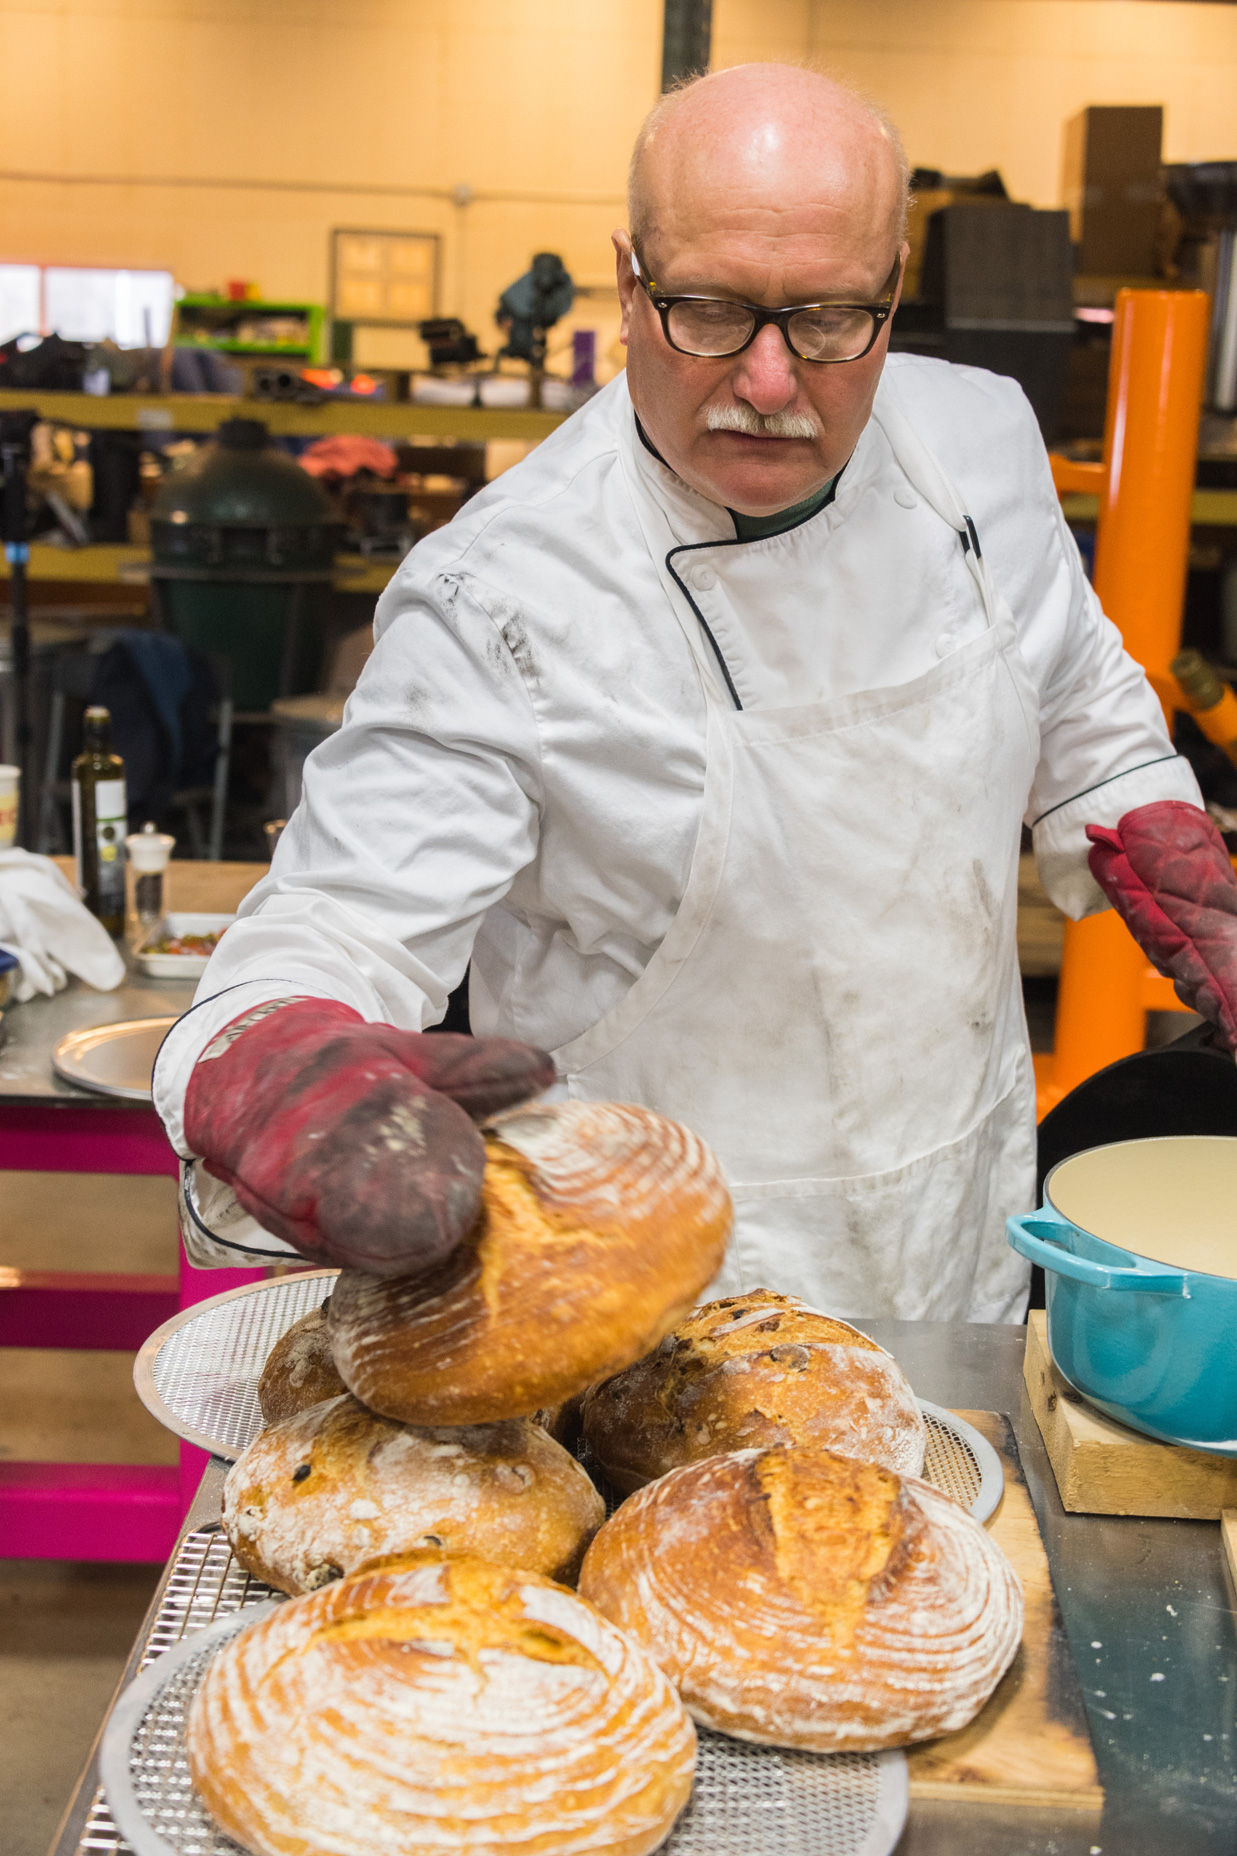
Breadmaker Rob Anderson stacks fresh loaves of bread in his Sturgeon Bay studio.
This experience was a crash course in learning the difference in kneading versus folding, weighing ingredients versus measuring, and understanding the consistency of dough. Baking bread truly is all about using your hands. I realized I was quite the novice and had much to learn. Baking with yeast is about honoring time and making sure you have plenty of it. This process cannot be rushed. The dough will need a minimum of 14 hours to set. It works best to let it rest overnight.
The process of bread baking may be the most balanced endeavor of art and utility I have found. There is also a bit of meditation mixed into this process. You use all your senses, and if you choose, it can be grounding and restorative on a personal level. When you are finished at the end of the day, you will have a wonderfully delicious treat to share.
Like any good tradesman you must have the proper tools, so before you get started be prepared with:
- a big bowl or food-grade bucket
- proofing baskets
- scoring tool or sharp knife
- 2 Dutch ovens with lids (Le Creuset or cast iron)
- digital kitchen scale
- stainless dough scraper
- clean work surface
No-Knead Bread
Recipe provided by Robert Anderson
Yields 2 loaves
Weighing ingredients with a digital kitchen scale alleviates opportunity for human error or mismeasurement
1,000 grams flour — Bob’s Red Mill Unbleached All Purpose or something comparable
20 grams fine sea salt
1/4 tsp yeast — Red Star Active Dry Yeast or something comparable
725 – 775 grams water
Mix flour and salt, mix yeast and water, and then using your hands, mix all ingredients together. Mix until all dry ingredients are melded with the wet ingredients. Let it sit.
After 30 minutes, take the dough out of the bowl or bucket and fold it. You will grab one corner of the dough folding it toward the center, continuing this process for a couple of minutes. Let it rest and repeat at 60 minutes.
Drizzle a bit of olive oil in your chosen vessel (I prefer a big pottery bowl). Place the dough in the vessel and let it sit for 14 – 18 hours at room temperature (70 degrees Fahrenheit). If your house is on the cooler side, place the dough in an unheated oven overnight (the pilot light or closed environment will help it along). The dough is ready when you see visible bubbles on the surface. It will grow 2 – 3 times its original size.
Remove the dough from the bowl and place on a lightly floured surface. Using your scraper, cut the dough into two rounds, approximately 750 – 1000 grams each. Pre-shape into boules (rounds). Rest 30 – 45 minutes. At this time, do one final shaping to your boules. Place each into an individual proofing basket and proof for 1 – 1½ hours. Preheat the oven to 450 – 475 degrees Fahrenheit.
Drizzle your Dutch oven with olive oil. Place one boule per Dutch oven and score the top of the boules (purely decorative) before covering and baking. A conventional oven can fit two Dutch ovens at a time. Bake for 25 – 30 minutes with the lid on and an additional 25 minutes with the lid off.
Allow the Dutch ovens to cool a bit before removing your loaf of bread. The crust will be golden-brown. Gently hit the loaf with your knuckles to ensure a subdued reverberation.
Slice and enjoy!